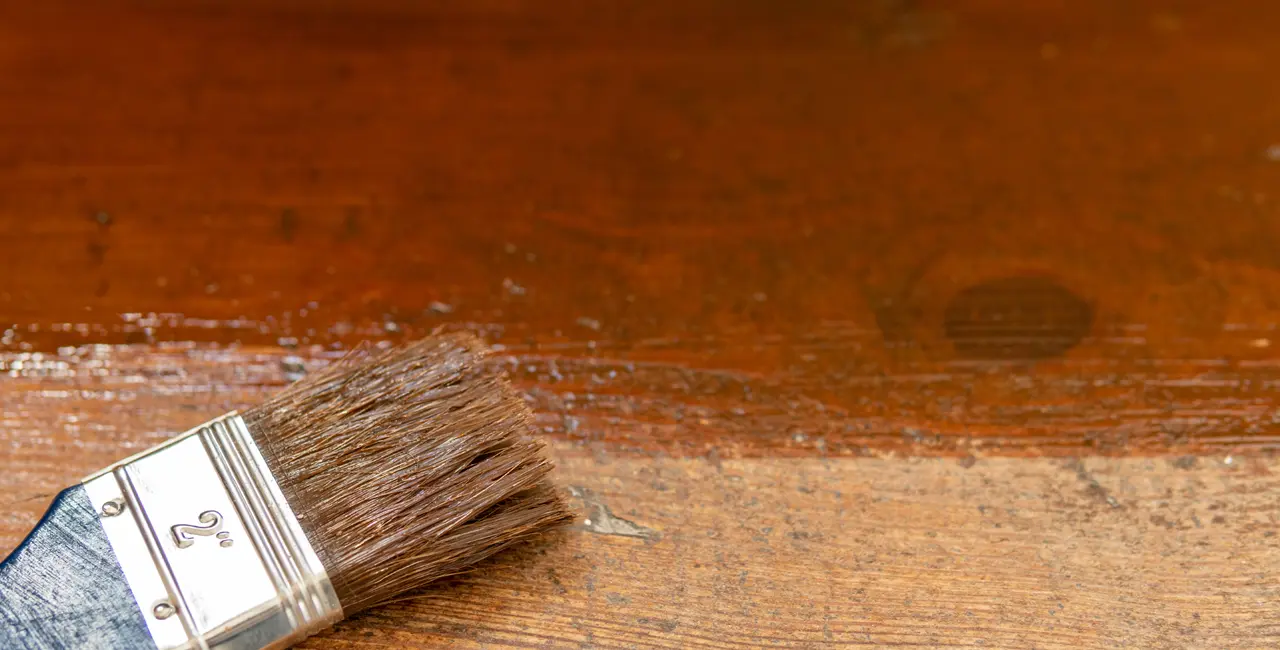
How to varnish and protect wood
Varnishing and protecting wood isn’t complicated, but it’s important to do it properly to achieve a long-lasting finish. We’ll explain the process step by step for both new and old wood, and when to choose oil instead of varnish.
Varnishing is essentially creating a protective layer that helps wood withstand daily use, moisture, and wear. The key isn’t just applying a coat and calling it a day, but rather preparing the surface properly and respecting drying times to ensure a uniform finish that lasts for years.
Before you begin: tools and preparation
Before applying any product, make sure you’re working in a well-ventilated, well-lit, and dust-free area. Proper preparation determines the final result.
- Sandpaper (medium and fine grit) and/or sander.
- Microfiber cloth or lint-free rag.
- Quality brush, roller or paintbrush (depending on the product).
- Protection: gloves and mask if the product requires it.
If you’re going to apply varnish, the goal is a smooth, clean surface. In high-traffic areas, such as wooden stairs, this step is even more important to prevent the finish from wearing out prematurely.
How to varnish old wood
When working with old wood, the most important thing is to remove any traces of previous treatments and leave a smooth surface. This will ensure the new varnish or oil adheres properly.
- Removal of previous treatments: if there are varnishes, paints or waxes, use a suitable stripper and remove the remains.
- Sanding: start with a medium grit and finish with a fine grit until the wood is smooth.
- Woodworm treatment (if applicable): If you notice small holes or fine dust, apply a specific treatment and respect the manufacturer’s timing.
- Final cleaning: remove dust with a slightly damp cloth and allow to dry completely before varnishing.
How to varnish new wood
New wood may seem “ready”, but it needs careful preparation so that the finish adheres well and the grain is beautiful and uniform.
- Progressive sanding: sand with medium grit and finish with fine grit to open the pores and smooth the surface.
- First coat: apply a thin, even layer; avoid overloading the brush to prevent leaving marks.
- Drying and light sanding: once dry, sand very lightly (fine grit) and remove the dust.
- Successive coats: apply 2–3 coats depending on the product and the level of protection you need.
- Final finish: choose matte, satin or glossy depending on the style of the space and the intended use.
For elements where safety is also important—such as railings or handrails—it’s advisable to choose a durable and easy-to-clean finish. If you’re considering both aesthetic and functional options, wooden stair railings often benefit particularly from a good protective treatment.
When is it advisable to apply oil instead of varnish?
If you’re looking for a more natural finish that highlights the grain and provides a warm feel, oil is a great alternative. Unlike varnish, oil nourishes the wood and allows it to “breathe” better, although it does require more frequent maintenance.
- Preparation: clean and sanded wood (as in the previous steps).
- Application: Spread the oil with a cloth, allowing it to penetrate; remove any excess.
- Successive layers: apply 2-3 coats, allowing to dry between coats.
This type of maintenance is part of caring for wood at home, especially if you want to preserve a natural look and prevent the surface from drying out over time.
How often is it advisable to varnish wood?
The frequency depends on the type of wood, its use, and the environment (indoors or outdoors). Indoors, a good varnish can last for years if it is cleaned properly and not subjected to constant abrasion. Outdoors, exposure to sun and humidity necessitates more frequent maintenance.
As a general guideline, check the finish if you notice a loss of shine, small dull areas, or a rougher surface. To better understand how humidity and wear affect this material, you can consult technical resources on wood behavior and durability.
Frequently asked questions about varnishing and protecting wood
What type of varnish is best for interior wood?
For interiors, water-based varnishes (due to their odor and ease of cleaning) or polyurethane varnishes (due to their durability) usually work very well. The choice depends on the intended use and the desired finish: matte, satin, or gloss.
Is it necessary to sand between coats when varnishing wood?
Yes. Very light sanding between coats improves the adhesion of the next layer and helps to achieve a uniform finish.
Can oil be applied over old varnish?
It is not recommended. For the oil to penetrate, the wood must be free of varnish; ideally, the previous finish should be completely removed.
How often should oil be reapplied to protect the wood?
It depends on the use and the type of oil, but in general it may be necessary to reapply it every 1–2 years to maintain protection and appearance.
Can exterior wood be varnished the same way as interior wood?
No. For exterior use, it is advisable to use specific varnishes with UV protection and greater resistance to humidity, checking the condition of the finish more frequently.
Conclusion
Varnishing and protecting wood is easy if you follow a clear order: preparation, application in thin coats, and maintenance. Whether on new or old wood, doing the preliminary steps (cleaning and sanding) correctly makes all the difference in achieving a beautiful and long-lasting finish.